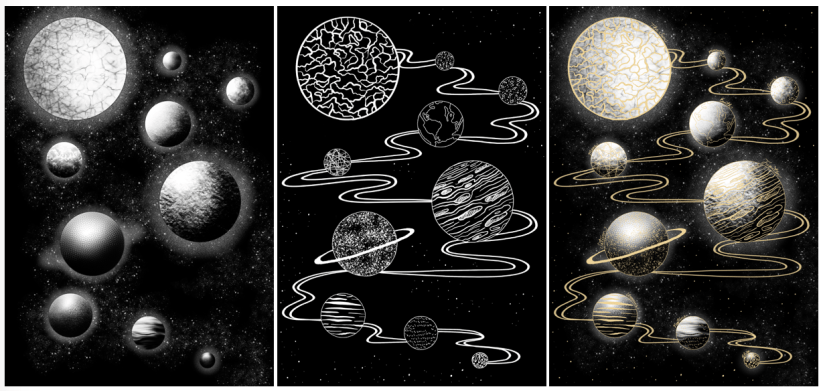
Over the past week, I’ve worked on a simple design that can translate into a screen print. Basing my concept on the idea of planets and digital fills (as inspired by the tutorial Dave showed us on Friday), I worked in Procreate to design both a gold layer, and a black and white screenprinted layer. Final designs below (left to right: Base/screenprinted layer, gold leaf layer, mock up of ‘final’ image with both layers):
Using Procreate is a whole new learning curve for me, as up until now I’ve worked mostly in Photoshop. My previous digital work has been done using a Wacom Intuos tablet, which I often found a bit hard to use (e.g. not being able to rotate it to draw, having to reference back to the screen when drawing, small size and lagging software).
Overall I was happy with my workflow, but earlier this year I invested in an iPad Pro as an additional tool. Ultimately I’ll still finalise my work in Photoshop as Procreate isn’t as extensive, but it’s invaluable having a drawing device with a screen- it feels much more natural, and it’s easier to draft out artwork compared to using a conventional drawing tablet.
One of the most useful tools I discovered actually came from a calligraphy brush kit- a variable line brush that smooths jagged edges and creates nicely curved lines (almost in a similar style to Illustrator, but without all the fiddling). There’s a plethora of times that I could have used this brush in the past, so I’ll definitely keep this in mind for the future!
Come Friday morning, it became quite clear that I was a bit ambitious with the black layer- Dave suggested that I instead print the gold layer as a complete image, so I decided to go with this (possibly going back and editing the black layer to be more screen print friendly at a later date). I’m glad I discovered this early on in the year, as it’ll inform any future imagery that I produce for screen printing.
I experienced some issues with the screen machine- my design wasn’t burned to the screen properly; the black background border was fuzzy on one corner. I’m putting this down to a technical issue that will hopefully be fixed in the future, as I think having a border on a screen print sets it off nicely, especially for trimming and framing. I’ll probably mask the corner border off and correct this by painting on the acrylic in ‘post-production’.
In the afternoon we were shown a quick recap of how to gold foil using the heat press- this was really useful because although I’ve worked with this process before, it was quite a few years ago now and I definitely benefitted from the refresh. There’s a much wider variety of foils now (e.g. iridescent foil, clear foil, and an array of different coloured metallic foils), all of which will be nice to experiment with ♥
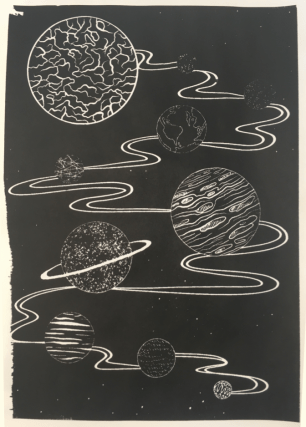
Friday was full of trial and error- in addition to the corner not being complete on any of my prints (which was expected), I had lots of issues with the amount of ink I was using (usually not enough ink). My 6th print (out of 8 total) was the most successful- I was surprised how well the fine lines came out, despite the pre-emptive warning that 12px was the finest line weight that would translate optimally. Below is my most successful print (I could have used slightly less ink):
I really love the process of screenprinting, so I’ll definitely be revisiting this in the future, hopefully with better results.
In the next week, I plan to finally start on my riso project- I’m a bit stressed out about this as I haven’t stuck to my timetable thus far (which is an awful start to the year). However, the past week hasn’t gone to waste as the development for this screen print can be linked into my Printmaking project as development and technique exploration, which is the purpose of the first Semester anyway~
References
Figure 1: Collingwood, C. (2018). Planets (Base Layer) [Digital].
Figure 2: Collingwood, C. (2018). Planets (Gold Layer) [Digital].
Figure 3: Collingwood, C. (2018). Planets [Digital].
Figure 4: Collingwood, C. (2018). Planets Test #6 [Ink].