Alongside my work for the Penguin Award and the Animation Development projects, I’ve been making a smaller ‘mini’ A4 risograph image, this time making use of photographic elements instead of illustration, as this is something I didn’t get to experiment with when I made my terrarium prints.
I’d originally intended to use my own photography for this side-project, but Royal Mail had other plans since all the rock minerals I’d ordered to photograph haven’t arrived… :c So purely for the purpose of experimentation, I’ve collaged together some royalty-free images (which are all referenced in my project development file) to use as a experiment- I’ll most likely be able to take my own imagery in the future to use for photographic risograph work, as I don’t want to include something in my portfolio that isn’t entirely self-produced. I collaged the images together quickly in Photoshop- I used my notes from my development work as a set of ‘rules’ when laying out the photographs.
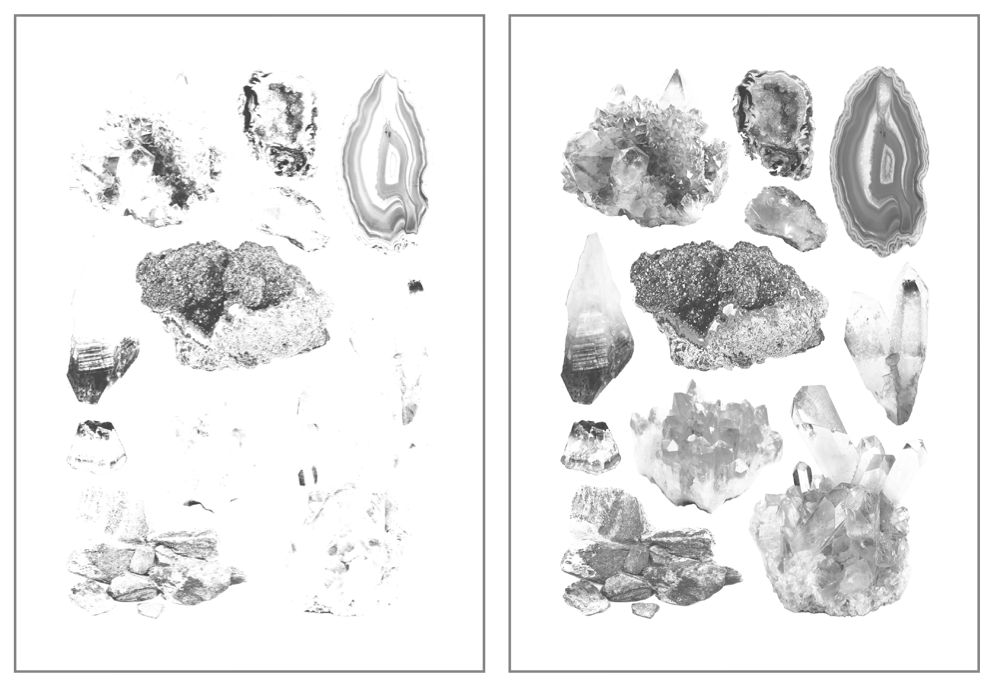
Once this was ready, I converted the image to black and white and duplicated the layer, one of which I edited using various Adjustment tools- I heightened the contrast and brightened up the second/upper layer, which meant only the darkest tones made it through into the final image- I’ll print this in the blue ink we have for the riso, with the base layer (with a wider range of light and mid-tones) printed in pink. Based on past experience with the riso during my terrarium printing run, I’ll be editing these on the riso prior to printing, bringing the ink coverage down to around 15-20%, as I don’t want bright colours on this print. The pink is extremely bright, and the blue extremely dark- hopefully reducing the coverage down to practically nothing will solve the problem. Below is my two final layers, ready for printing:
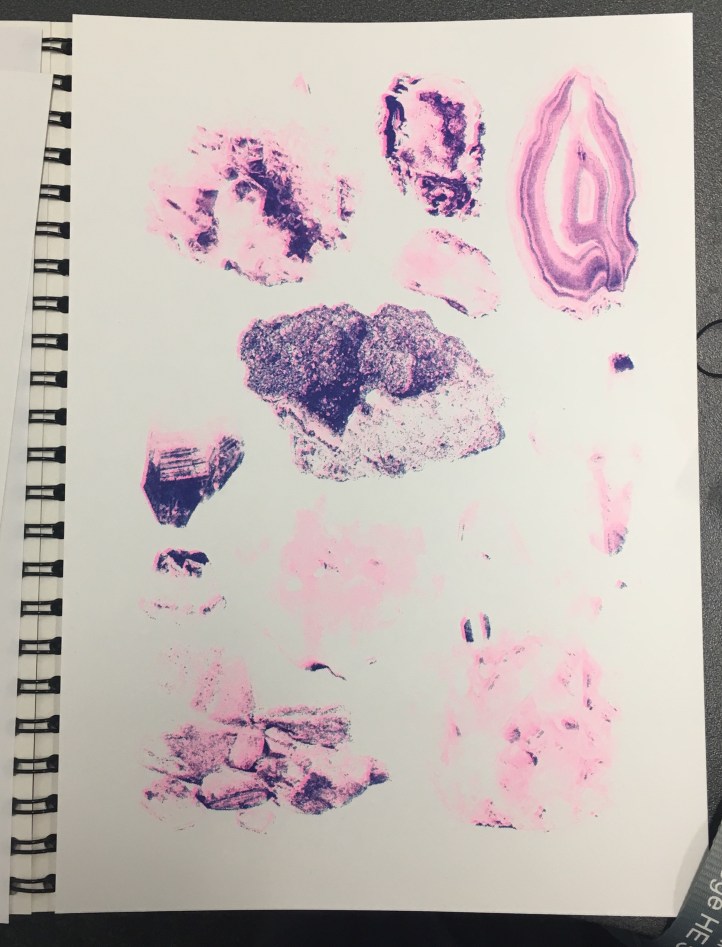
Obviously the printing process was much the same as the terrarium prints (again, all of this is documented much more in-depth in my development file), but this time I added halftones (via the riso)… and it worked well! Except that all of my prints were too light, haha. I initially thought that I’d need to make the masters super light to combat the really pigmented inks, but I think I went too far the other way, as lots of detail was lost in the final prints:
But, not to worry… this was a purely experimental exercise- when I’m able to take my own pics I’ll run some more prints off again, keeping in mind everything I learned throughout this test. I enjoyed the process anyway, and there’s no improvement to be gained unless you fail first!
Reflecting on the project as a whole… I’m glad I got to use the risograph printer, since it’s a process I’ve been interested in since hearing about it just over a year ago. It’s certainly been unconventional for me, since the colours are so restricted (and BRIGHT!), as well as the digital process involved in making artwork riso-ready. It was really nice to try out new techniques and styles of artwork all in the name of suitability, since prior to this I’ve been quite stuck in my ways. I’d love to revisit this in the future, but for now it’s definitely high time to start on the next Semester 1 projects…
Onwards and upwards c:
References
Collingwood, C. (2018). Mini Minerals Riso- Printing Layers 1 and 2 [Digital].
Collingwood, C. (2018). Mini Minerals Riso- Final Print [Risograph Print].
